blythelife.com
blythelife.com

Blythe On A Budget: DIY Shoe Display

Written on July 24, 2013 at 12:00 pm by Michelle
Filed under: Article with tags: , ,

20130718

I have been all about needing to put together things lately! Feeling very crafty and finding inspiration in the oddest of places. Last weekend I stopped into a small shop that sells a lot of ‘up-scale’ dollar store goods (most things are priced more than a dollar) and then I nearly skipped past the selection of wooden boxes that they had. They were being marketed as “trinket boxes” and I thought it was cute, until I realized how great it would be to display doll shoes! So go off to your local dollar/dollar plus store and see what kind of divided wooden boxes they have! I’ll be patient and wait for you to get back.

Click to read more of this entry.

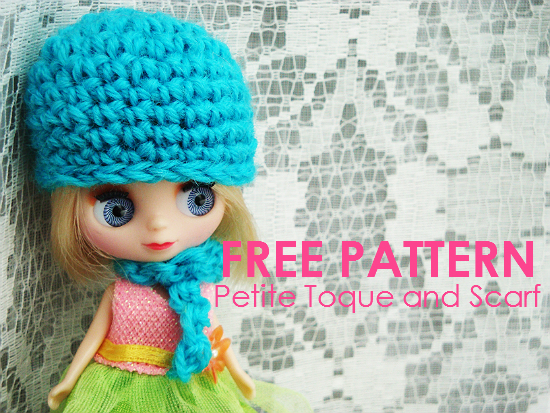
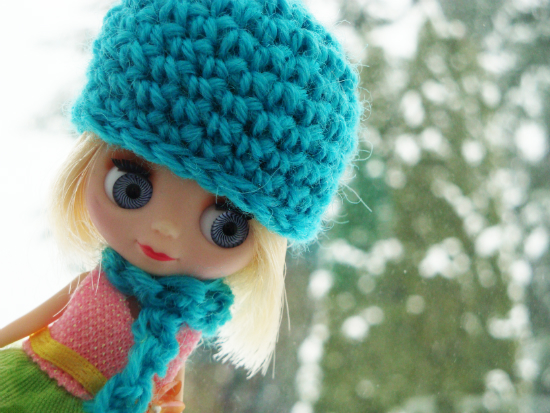
Crochet Petite Toque and Scarf [Free Pattern]

Written on December 19, 2012 at 12:00 pm by Michelle
Filed under: Article with tags: , , ,

Supplies Needed

  • 4.00mm/US G-6 crochet hook
  • Small amount of sock yarn (good project for remnants!)
  • Yarn/darning needle
  • Scissors

Gauge
2 st per 1 cm

Pattern Notes
Total number of stitches that you should have at the end of each round is mentioned in the parentheses at the end of each round.

Abbreviations
sc = single crochet
st = stitch
sl st = slip stitch

Toque Directions
Round 1: Crochet 6 sc in a magic ring (6).
Round 2: *2 sc in next st* repeat 6 (12).
Round 3: *sc 1, 2 sc in next st* repeat 6 (18).
Round 4: *sc 2, 2 sc in next st* repeat 6 (24).
Round 5-9: Work even in sc (24).
Round 10: Work even in sl st (24).
Fasten off, tuck in ends.

Scarf Directions
Chain 16 (or as long as you want – 1 ch is the turning chain)
Sc across (15).
Fasten off, tuck in ends.

Notes on Pattern Use
This pattern may be used for personal or commercial use provided that full credit is given to BlytheLife.com/Michelle for the pattern (please include a link to the website or pattern page in your sales description). This pattern is not for mass-production manufacturing. You may not sell, republish, repost or claim the pattern as your own. If you have any questions regarding these terms, please email Michelle at michelle@blythelife.com.

Halloween Costume Ideas

Written on October 24, 2012 at 12:00 pm by Michelle
Filed under: Article with tags: , ,

Halloween is a fun holiday where you get to dress up as something spooky and then collect candy from strangers. Blythes, however, are unable to go door to door soliciting sweets from people that they don’t know – but they can still dress up! Last year, one of my dolls was dressed as a squid for Halloween:

Vancouver Island Meet - October 16 2011

This year, my local Blythe group is having another Halloween meet-up! And while I don’t want to entirely spoil my girls’ costumes for the meet that is happening this weekend, here are the costume ideas that I considered (and later rejected):

  • Vampire – deemed too scary
  • Ghost – rejected due to being too generic
  • Hobbit – no one was willing to have the necessary hairy feet
  • Police officer – if you have the stock outfit from Love Mission, this is a very easy costume to pull off!
  • Ballerina – deemed not scary enough

What kind of crazy goblins and ghouls are your little angels dressing up as this year for Halloween?

Things I learned from sewing for dolls

Written on May 16, 2012 at 12:00 pm by Michelle
Filed under: Article with tags: , ,

I’ve learned a lot since I started sewing for dolls. Some things I kind of already knew, others I didn’t. I decided to compile a list of things that I’ve learned – whether I wanted to learn them or not.

Irons are your friends. Mini irons are your best friends.

I never used to iron a thing. Ever. I hated the idea of ironing and all I read online was ironing will change my life. Or something like that. And I didn’t believe it… until I had a seam that would not let me press it flat, no matter what I tried. So I pulled out the iron and then bang, like magic. It was perfect. I got a Clover Mini Iron last year for my birthday and while I don’t use it for everything (let’s face it, that little iron head is not large enough for doing an entire fat quarter at a time to get rid of the fold lines), it is fantastic for doing little things like collars, small seams, little hems.
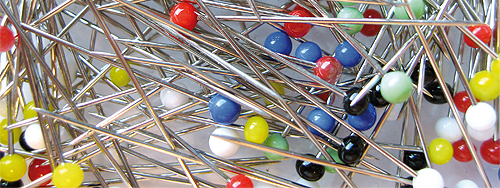

Photo from sxc.hu user drniels.

Pinning is important, apparently. But plastic pin heads will melt under the iron.

I learned this very early on. Pinning is awesome! It keeps things in place, keeps all your gathers gathered until you’re ready to actually sew and make them permanent. But plastic pin heads. I used to only have pins that had plastic heads until I started becoming BFFs with my iron. And then I learned why glass pin heads exist. Because they won’t melt and deform if you press an iron down on them. Nothing makes me start sounding like a sailor than having plastic pressed and melted into my pretty fabric.

Tracing paper is a lot easier to pin to fabric than regular paper.

Oh tracing paper, I love you so much. I tried, at one point, to use regular letter paper as my pattern pieces. I’d cut them out, pin them, but it’d bunch or buckle and it just wouldn’t lay flat no matter how I pinned it. Cue tracing paper. It’s thin, light-weight, relatively inexpensive (even more so with a discount coupon to the Big Box Craft Store) and (best of all) it’s easy to transfer patterns to it and to pin it down flat onto the fabric.

My mother wasn’t lying when she said that there are fabric-only scissors and paper-only scissors.

When I was little, I totally thought it was weird that my mom had scissors labelled ‘general use’, ‘paper only’, ‘fabric only’. Because to me, they were all just scissors. Now that I engage in fabric-related crafting? I totally get it. I have a set of snips for threads, a pair for fabric, pinking shears and general paper scissors. And they’re all labelled and in their ‘home’. I totally get it now. Sorry mom, for doubting you and your scissor labelling. Of course, now that I understand why there are scissors for different things, I don’t lend them out to people. I’m likely to lend out the paper-only scissors. But my pinking shears? My fabric shears? Nope. Mine.
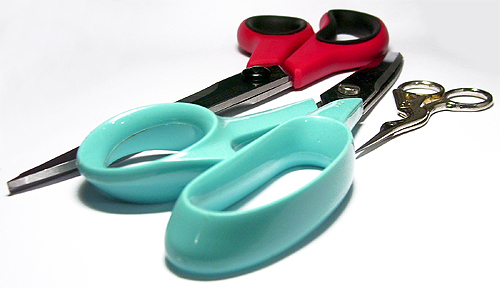

Photo from sxc.hu user lela1971.

You need to learn to pick your battles when it comes to knotted threads.

I hate knots. I really, really hate knots. But I know when I’m going to win (hopefully) and when I’m going to lose. If I’m hand sewing, I’m more likely to fix the knots because it’s a pain otherwise. If I’m machine sewing and there’s a knotted thread nest on the fabric…? Well, I’m slightly less likely to undo the knots. Especially if they won’t be seen. But then I’ll go and adjust tension and rethread the machine because it’s the right thing to do. But undoing the knots? Highly unlikely. It’s a design feature.

Seam rippers are fantastic. Except when they go under your fingernail.

I think seam rippers are awesome. They rip seams, which is great whenever I do a wonky line. However, seam rippers can be sharp. And they’re kind of annoying when I go and job myself underneath a finger nail and get blood on my project. So word from the wise (?) – be careful with sharp objects. That goes for pins, scissors and seam rippers. Getting sharp objects into your body is no good. Be careful, be aware of your surroundings. No hobby is worth permanent damage to yourself or others.
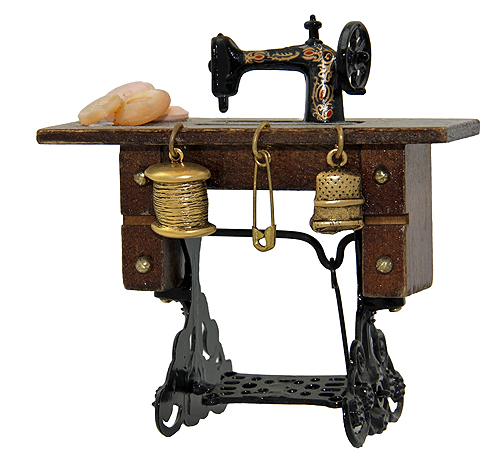

Photo from sxc.hu user mazwebs.

Sometimes it’s just easier to hand sew. Not faster, but easier. Sometimes.

Sometimes when I’m trying out a new or new-to-me pattern, I hand sew it because it’s just easier for me to ‘visualize’ it. It’s also easier for me to undo the stitches if I do something wrong. Also, I hand sew collars sometimes, if I can’t find any stabilizer, because my machine eats tiny bits of fabric like that for breakfast. It’s a nice way to get small seams when you hand sew, and you can also embroider details with hand sewing. Granted, you can do it with machine sewing as well, but some people like hand embroidery from time to time. Hand sewing is also useful for sewing tiny buttons, beads and snaps. And we all know how I feel about snaps…

Blythe On A Budget: Alternatives to Mini Buttons

Written on August 24, 2011 at 12:00 pm by Michelle
Filed under: Article with tags: , ,

I love the look of mini-buttons on doll clothing. They’re super adorable and they come in all sorts of colours. My main problem? Even though they’re (somewhat) readily available in scrapbooking sections of stores, the pricing is at a few dollars for less than 20 buttons. If you go online, you’re paying a smaller price for a larger amount (lowest I’ve seen is $2.50 for 100 buttons) but you get all of the same colour. And while I can appreciate beauty of small plastic buttons, there needs to be some kind of alternative that doesn’t cost as much.

It’s been in style lately for human clothing to have large buttons – why not transfer that idea over to doll clothing? If you have buttons that came off of your own clothing, you can still use them! Make a nice peacoat for your dolls and use ‘large’ buttons on the jacket to mimic fashions for people!

Seedbeads are small and come in some fantastic colours! You can buy a lot for very little money – some places will even sell mixed packages or vials for a low cost. This can be great because the beads are an appropriate scale for dolly clothing, but at the fraction of the price of the plastic buttons. You can find them at dollar stores at $1 for a vial or a bag. You can also find them at craft stores. They come in various colours (solid colours, milky, translucent) and can be made out of plastic or glass.

Craft your own mini-buttons! Get some polymer clay and make them for yourself. Just a reminder that they will end up very thin so your best bet for curing the polymer clay is to boil them rather than to put them in a oven (they’re likely to burn). Quite possibly the more expensive of the three ideas, but polymer clay comes in great colours and you can make them the same size as the miniature buttons without completely breaking the bank. And when you’ve made enough buttons in the colour you have, you can use the clay to make something else entirely (maybe make your own doll-scale foods?).

« Newer EntriesOlder Entries »
blythelife.com
blythelife.com