Written on January 28, 2015 at 12:00 pm by Michelle
Filed under: Article with tags: blythe on a budget, crafting, diy, free pattern
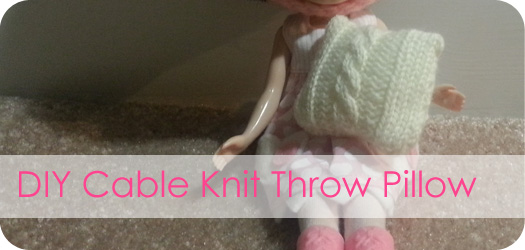
The great thing about cushions is that there is a huge range of ‘standard’ sizes’ for the 1:1 scale crowd (that being us!). For Blythe, I wanted to make some throw cushions for that great Ikea HUSET couch (modeled after the KLIPPAN). My real-life throw cushions on my real couch range from 12″x12″ to 16″x16″ which, in 1:6 scale, would be be 2″x2″ or 2.67″x2.67″. The nice thing is that you can make these in a variety of sizes, or all the same size. Click to read more of this entry.
Written on December 17, 2014 at 12:00 pm by Michelle
Filed under: Article with tags: blythe on a budget, crafting, diy
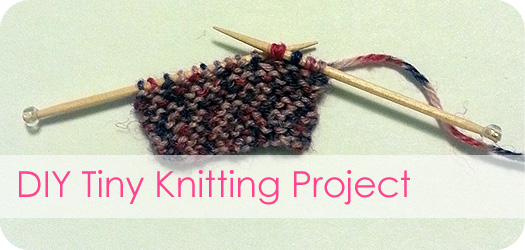
The thought of my Blythes taking part in hobbies that I partake in just tickles me, so I had to find a way to get them involved in knitting. If you already know how to knit, this DIY will be a lot easier for you. If you don’t already know how to knit, you will need to learn how to cast-on (I use the long tail cast-on) and how to do the knit stitch. I find that KnittingHelp.com (very appropriately named!) is very helpful when it comes to learning knitting, they have many free videos! Click to read more of this entry.
Written on December 10, 2014 at 12:00 pm by Michelle
Filed under: Article with tags: blythe on a budget, crafting, diy
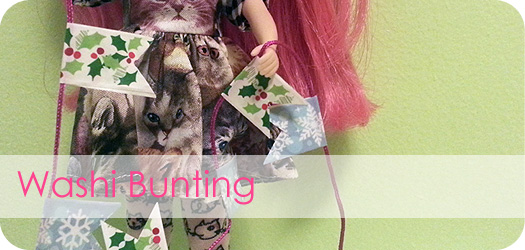
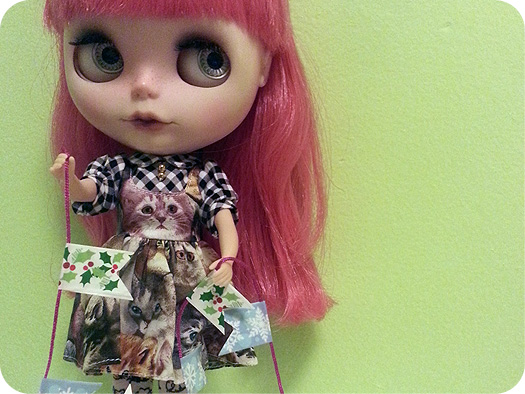
I saw this adorable string of bunting that was designed to be strung across the top of cupcakes on skewers. It was super cute, and came in a variety of designs (football! minions! robots!). It was also $7.50 per package and I knew that was just too much, I could definitely make something that was more size-appropriate for Blythe at a much cheaper cost. So I did.
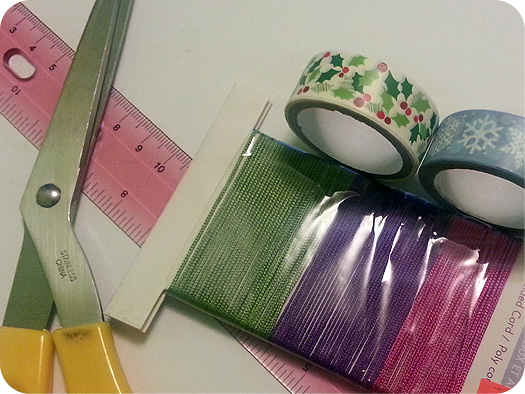
You will need:
- String (or thread) – 30cm long (I used extra pull string cord – $1 for 3 colours, 11m/12yd total)
- Washi/paper tape (as many or as little designs as you want!) – I paid $2 for 3 rolls of tape
- Ruler
- Scissors
Directions:
Cut your string or thread so that it is 30cm long. You can make it longer or shorter if you’d like. Knot the ends. The knot helps the dolls hold the bunting a little bit better!
Cut pieces of washi tape to be 4cm each (approximately 1.25″).
Fold each piece of washi tape over the string, make the ends meet (even out with scissors as needed).
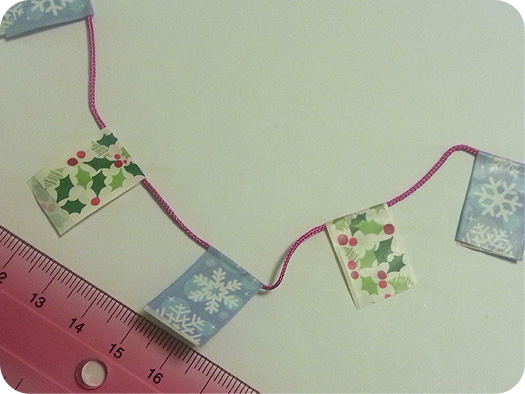
Put one piece approximately every 3cm, or evenly across the string.
Using your scissors, cut out a small triangle from the rectangle of tape.
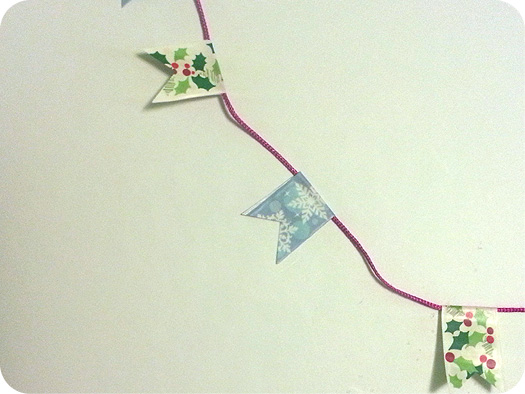
Hang around your doll house or have your dolls have in a photo. And you’re done!
Written on November 7, 2014 at 12:00 pm by Michelle
Filed under: Article with tags: customizing, diy
DIY Customizing is an irregular series of customizing tutorials. These are tutorials for things that I am able to do for my Blythes and I try to make it as simple as possible so that you can do these easy customizations to your own dolls. I am not a customizer – professional, amateur or wishful thinker of any kind. If you’re a kid – ask a responsible adult for help. As always, safety first! BlytheLife.com is not responsible for any damage that you do to yourself, your doll, or your home (or wherever you’re customizing).
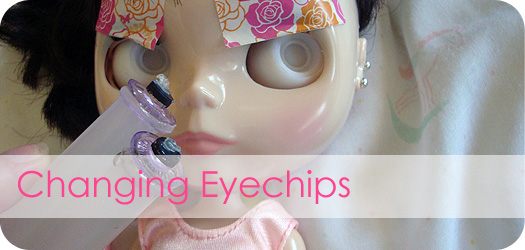
The eyes are a big part of what makes a Blythe unique. I bought a pair of handpainted eyechips at BlytheCon Seattle and I knew exactly who would be getting those beautiful pink chips.
To do your own eyechip change, you will need:
- Tape – masking tape or washi/paper tape
- Hot glue sticks
- Lit candle
- Water soluble glue (I use Aleene’s Original Tacky Glue)
- New eye chips
First I started by “prepping” my doll. With two pieces of washi tape, I taped her eyelashes back so I wouldn’t get glue all over them.
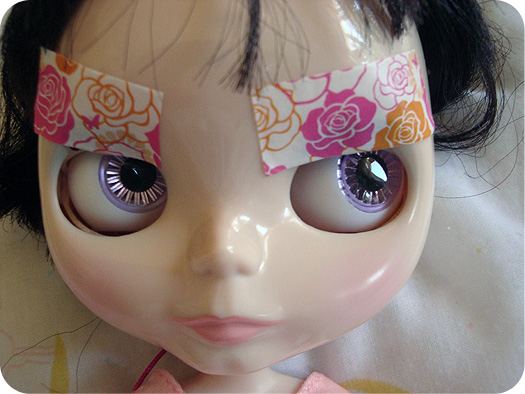
Yes, even the tape I use for Eden Mouse is pink!
Click to read more of this entry.
Written on October 17, 2014 at 1:00 pm by Michelle
Filed under: Article with tags: clothes, crafting, diy, middie, personal challenge
So this going to be an incredibly embarrassing post. You remember way back when I challenged myself to work on a wardrobe for my Middie Blythe doll, Kitty Brighton? (If you don’t, it was back in April…) Back then, this is all Brighton had for clothes (and shoes):
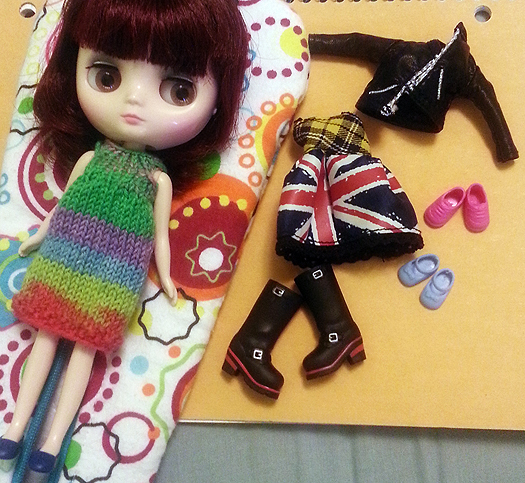
Jogging some memories now, I bet! I told myself that I would make her wardrobe by myself. So no buying things, except for shoes. And what have I managed to get done from April until now?
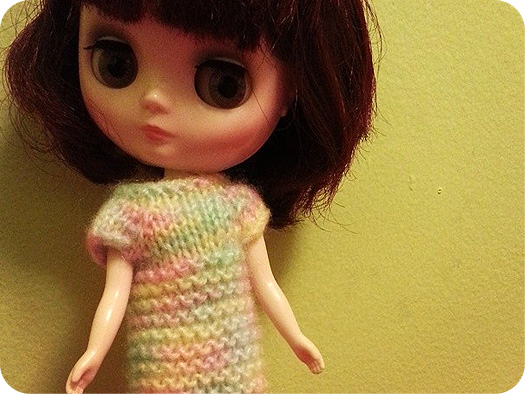
Two nearly identical dresses. Both knitted.
I’m a bad dolly owner, poor thing should really go into Dolly Protective Services. Hopefully the next update will be better, and she’ll have more than dresses to wear. Or at least another dress to wear. I’m so bad at this! Hopefully the next update in a couple of months will be a lot more fruitful for her.


 BlytheLife.com opened in July 2010 and is a blog and resource hub for all things Blythe!
