


 BlytheLife.com opened in July 2010 and is a blog and resource hub for all things Blythe!


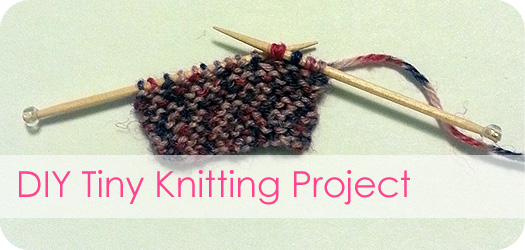
Blythe On A Budget: DIY Tiny Knitting Project
Written on December 17, 2014 at 12:00 pm by MichelleFiled under: Article with tags: blythe on a budget, crafting, diy
The thought of my Blythes taking part in hobbies that I partake in just tickles me, so I had to find a way to get them involved in knitting. If you already know how to knit, this DIY will be a lot easier for you. If you don’t already know how to knit, you will need to learn how to cast-on (I use the long tail cast-on) and how to do the knit stitch. I find that KnittingHelp.com (very appropriately named!) is very helpful when it comes to learning knitting, they have many free videos!
You will need:
- 2 toothpicks
- 2 beads (that can fit on the ends of the toothpicks)
- Knitting needles (2mm/US0)
- Sock weight yarn (small amount)
- Scissors
- Yarn needle
- Glue (I used Aleene’s Tacky Glue – it is a water soluble glue)
- Nail clippers, wire cutters, emery board/sand paper (optional)
Directions:
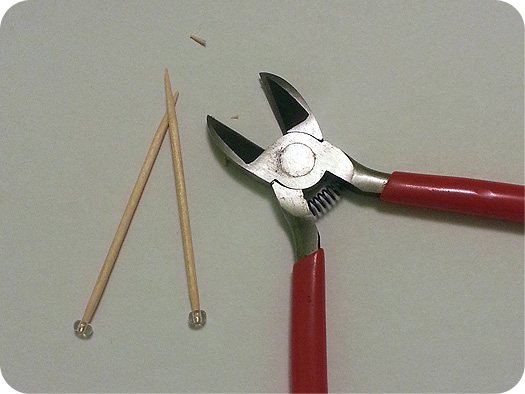
For the knitting needles, I found 2 beads that fit on the ends and clipped the excess toothpick that showed with wire cutters. I used an old emery board (you can also use sand paper) to sand the end of the toothpick so it is flush with the bead.
For the pointy end of the toothpicks, lightly sand them so they aren’t as sharp (just to prevent future accidents!). This is an optional step.
Remove the bead, dip the end in glue, and slide the bead back onto the toothpick. Do this for both toothpicks, set aside to dry.
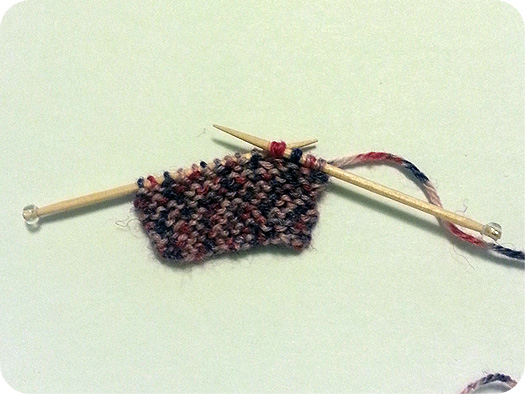
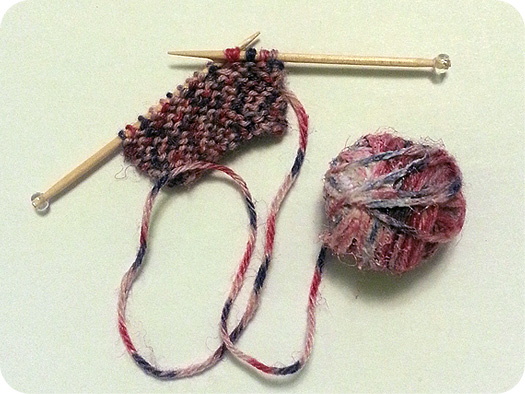
Cast-on 14 stitches onto your knitting needles. Knit all rows for as many rows as you’d like (I knit 12).
On row 13, knit 4 stitches and then stop. Tuck in the end at the beginning with your yarn needle and cut any excess tail (this is optional, but does make it look neater).
Transfer the stitches to your toothpick knitting needles. You should have 10 stitches on one needle and 4 stitches on the other. Secure the live stitches to the toothpick knitting needles with glue.
Cut a length of yarn (as much as you want; if you’re using scraps it won’t be very long). Roll into a ball.
Secure the ball of yarn with a small amount of glue to keep it from unraveling. Set it aside to dry (I left mine to dry overnight). If you’re not using Aleene’s Tacky Glue, you will want to find a glue that will dry clear, or else it will be very obvious in photos that there is glue (and you don’t want that).
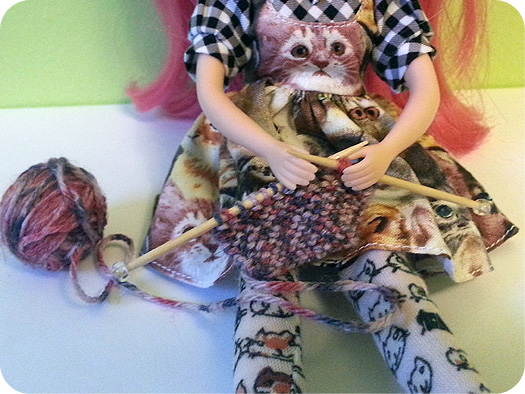
Once dry, enjoy using it as a photo prop! And now you can put your dolls at work knitting their own sweaters!
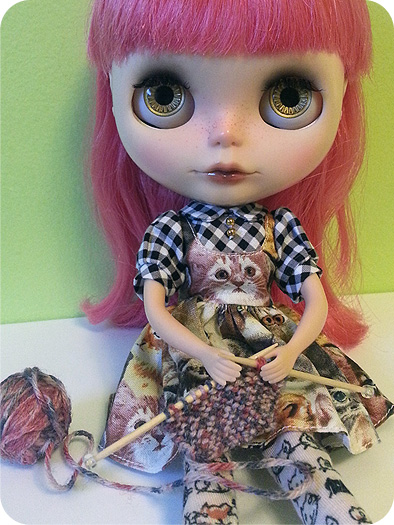 Cameo wears Plastic Fashion (dress) and Endangered Sissy (tights).
I AM COMPLETELY DOING THIS!