blythelife.com
blythelife.com

DIY Customizing: Changing Pullstrings (Without Opening the Head)

Written on September 26, 2014 at 12:00 pm by Michelle
Filed under: Article with tags: ,

DIY Customizing is an irregular series of customizing tutorials. These are tutorials for things that I am able to do for my Blythes and I try to make it as simple as possible so that you can do these easy customizations to your own dolls. I am not a customizer – professional, amateur or wishful thinker of any kind. If you’re a kid – ask a responsible adult for help. As always, safety first! BlytheLife.com is not responsible for any damage that you do to yourself, your doll, or your home (or wherever you’re customizing).
20141114

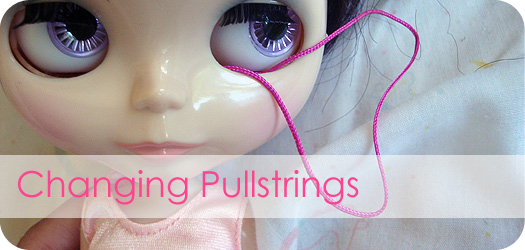
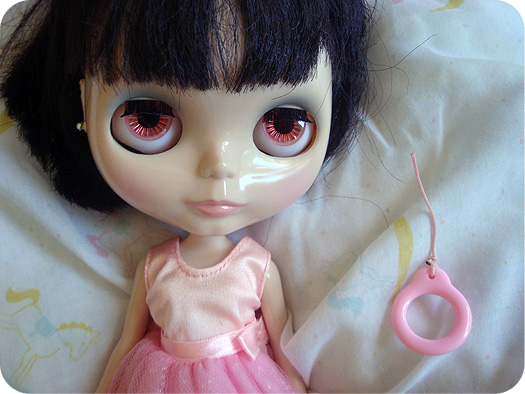
One of the challenges with some Blythes (notably Kenners, BLs, EBLs, some SBLs and some of the newer releases) is that it can be a pain in the bum to get their heads open if you want to do anything in there. One challenge that I faced with one of my dolls, Belarus, was the fact that her stock pullstring was fraying. So I changed her string. She is an EBL and at the time I was not up to the task of opening up her head (I’m still not), so I had to do it without actually opening her head. It can be tricky, but I wanted to show how I did it.

Now, Belarus doesn’t need another string, but Eden Mouse’s string had broke once or twice since I had changed it to a light pink cord. It’s super short now, and I wanted to swap it out for a darker pink cord (but still keeping the same pullring). Eden Mouse is a Punkaholic People RBL, which means that it is relatively easy to open her up, if I wanted to. I opted to keep her head closed for this tutorial.

This is just for changing the pullstring for the string that changes the eyes, not the string (if your doll has one have one) for sleep eyes. I haven’t figured out a way to change that without opening the head (if your doll no longer have a spring), so you’re flat out of luck there.

To change your doll’s pullstring, you will need:

  • Scissors
  • Lighter (or lit candle)
  • New cord
  • Super thin wire (or a u-shaped upholstery needle)
  • Fishing line or nylon thread
  • Wire cutters (if using wire)
  • Well lit working area

Let’s say that your doll’s string just broke, or the knot inside loosened so it came straight out. So what I did here was just snip Eden’s string.
20140926a

If your doll’s string broke, I know this is the point of complete sadness. If you love the chips that are currently up, handroll them to chips that you either don’t like or don’t like as much – just in case you scratch them during this process.

The first thing you need to do is remove the old string inside of the head. I used wire and poked it out. The knot should lie on the left hand side (if you are facing the doll, that would be your left, not her left). Just poke it out until you see it come out the eye hole. Remove the old string. Click to read more of this entry.

Blythe On A Budget: DIY Photo Backdrop

Written on August 20, 2014 at 1:00 pm by Michelle
Filed under: Article with tags: ,

20140820

A big part of writing BlytheLife is that I get to learn about a whole lot of stuff. Including my adventures in sewing, knitting doll-sized cardigans, and taking photographs. Now, I took photos before Blythe, but I rarely used macro settings before dolls, nor did I have a model to take photos of. Here’s a super simple way of doing a photo backdrop that you can do with things you may have in your house. Alternatively, a trip to the dollar store will fix you right up!

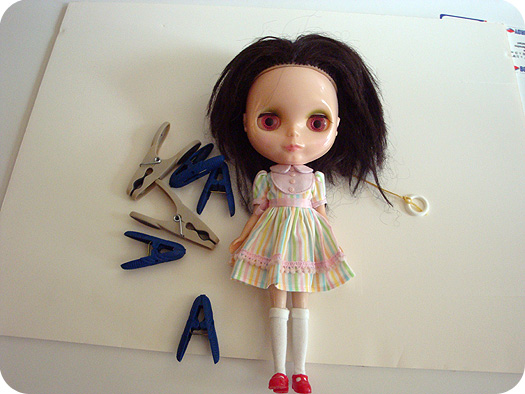
You will need:

  • Foam board – 2 pieces if you are not using a table
  • The backdrop – you can use scrap booking paper, wrapping paper, anything! – Optional
  • Glue stick or sticky tac/blue tac/temporary adhesive (if you’re using some kind of pretty paper) – Optional
  • Clothespins
  • Something to photograph

20140820a

Directions:

Get your backdrop imagery onto your foam board, if you decide to use one. You can use scrap book paper or wrapping paper, whatever you’d like. This is optional.

Wait for it to dry. Go browse the internet for new dolly shoes.

Dried? Excellent! I opted to keep mine all white so there was no added drying time.

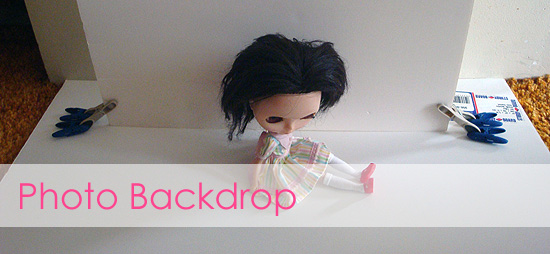
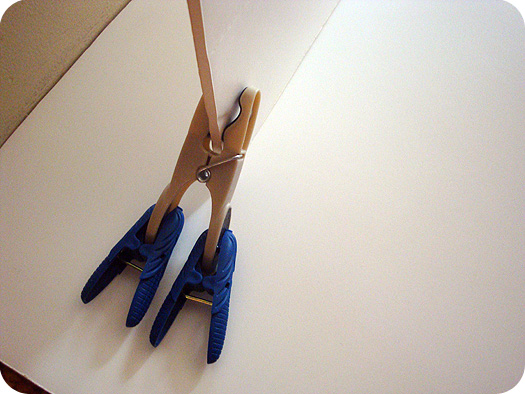
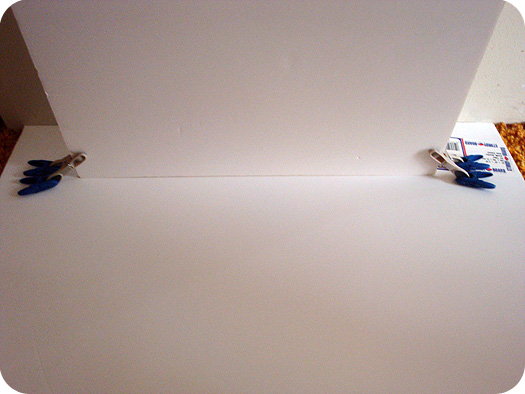
Clip your clothespins onto the bottom edges of the foam board, as pictured. I used additional clothespins to make it more stable.

20140820b

20140820c

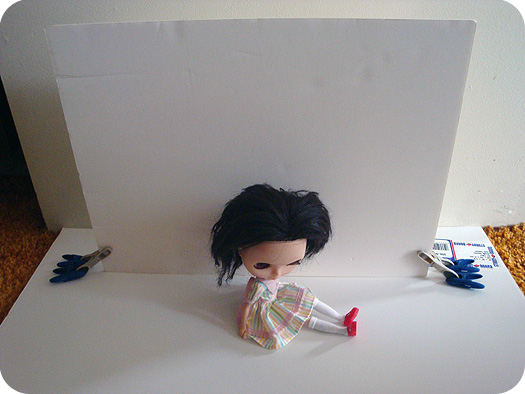
Now you have an upright photo backdrop for all your photo taking needs. Go take some photos! And when you’re done, simply unclip the clothespins and store your photo backdrop flat somewhere for safe keeping.

20140820d

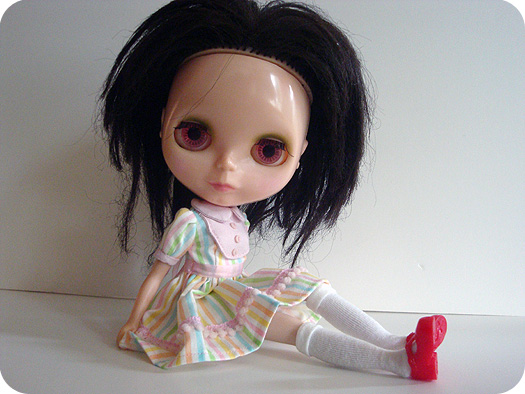
The great thing about this set-up is that it is so easy to set up and to tear down. If you want, you can also position lights on either side to reduce the amount of shadowing. Here’s a photo I took of Prim with my DIY photo backdrop:

20140820e

Blythe On A Budget: Framed Art with Cards

Written on August 6, 2014 at 12:00 pm by Michelle
Filed under: Article with tags: ,

20140806

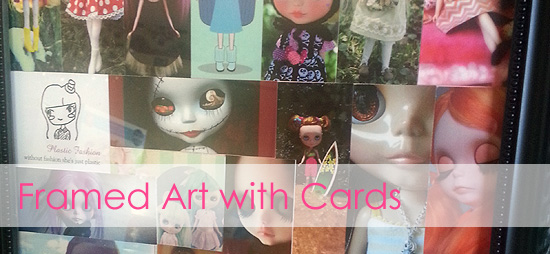
What’s a doll collector to do when she has a pile of Moo and business cards collected? Turn it into art! This is an easy little DIY that helps to showcase your favourite Moo cards.

I started this project before BlytheCon Seattle, but I actually did not have enough cards (does this maybe mean that I need to shop more? I think it does!), so I had to wait until I got back to reassess how many beautiful cards I had to use. Lo and behold, I had more than enough (and some extra for the start of another frame!). I mostly used Moo cards for this project, but my next one is definitely going to featuring postcards and traditionally-sized business cards since I have so many of them (and they’re beautiful!). This is an inexpensive project that allows you to make something pretty from the collected cards that you already have on hand, I hope you enjoy. Click to read more of this entry.

Blythe On A Budget: DIY Easy Tutu

Written on July 30, 2014 at 12:30 pm by Michelle
Filed under: Article with tags: , , ,

20140730

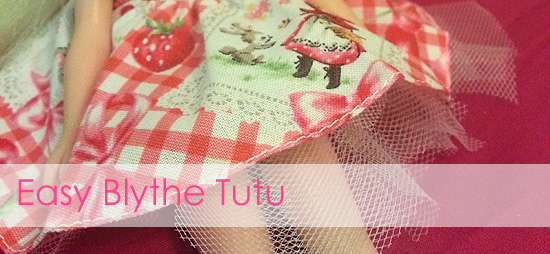
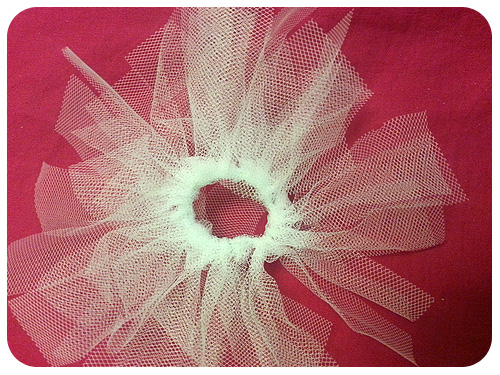
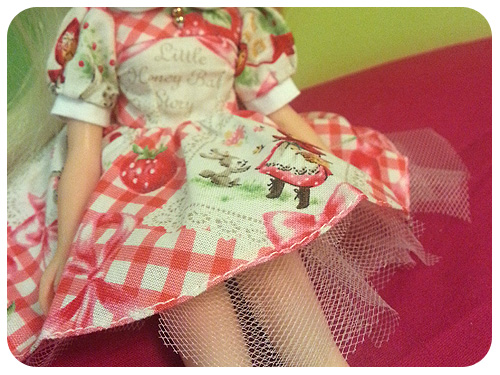
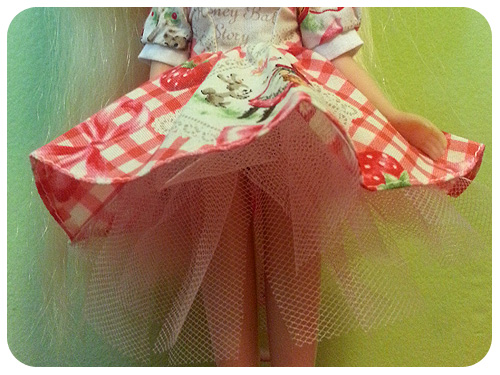
When it comes to crafting for dolls, I like things that are cute and easy. When it comes to this tutu, there could be nothing easier! You can be creative as you want with combinations of colours, the sky is the limit when it comes to these little tutus. They can be worn as a skirt, or a petticoat to add some volume under your favourite doll dress. Bonus: if you had longer strips of tulle, you could make a tutu for yourself and match with your doll!

You will need:

  • Tulle, or fabric
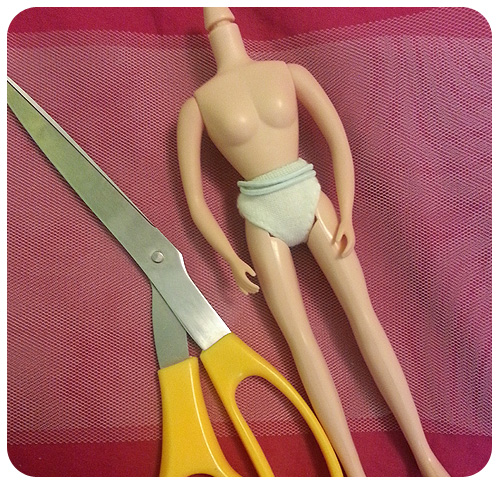
  • Scissors
  • Ruler (optional)
  • Elastic band/hair tie/ribbon – the elastic band or hair tie will need to fit around a Blythe’s waist

20140730a

Directions:

Cut off a piece of tulle, I measured out two full ruler’s length  – approximately 60cm (or 30″). If you need more, or you’re making a tutu for a larger/smaller doll, adjust the length as needed.

Fold up the tulle so it’s easier to cut it straight (if you’re challenged like me!)

20140730b

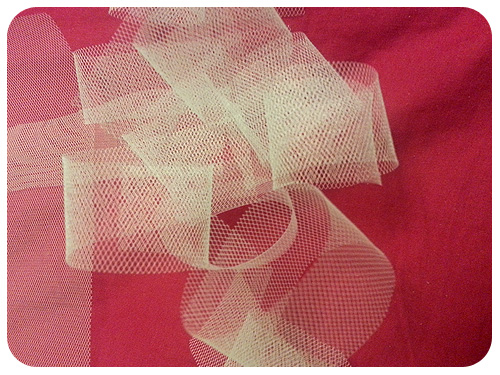
Cut it in 1″ increments, all the way down. You can eyeball this, if you’re confident.

Fold each piece in half. Is it too long for your doll? Cut it in half again!

20140730c

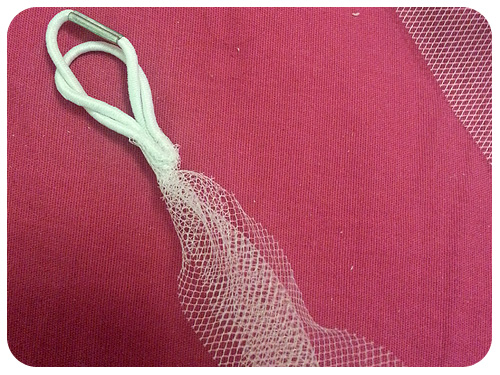
Fold each piece in half, put the ‘loop’ into the elastic (or along the ribbon), pull the ends through the loop and pull it snug. If you’re using ribbon, you want the length to be long enough that you can tie a bow around your doll’s waist.

20140730d

Repeat all the way down the elastic or along the ribbon until you have enough to go around your doll’s waist.

20140730e

Put it on your doll! Take photos and have fun!

20140730f

Blythe On A Budget: DIY Felt Clutch

Written on July 9, 2014 at 12:00 pm by Michelle
Filed under: Article with tags: , ,

2014709

What does every doll need? Some kind of purse to hold all her hard-earned money, and credit cards, of course! And with a project so easy, your Blythes will easily have a whole rainbow of clutches, one for every colour outfit imaginable.

You will need:

  • Felt – any colour
  • Needle and sewing thread – I used white to better show my stitches in this tutorial
  • Scissors and craft knife (if you have one) – if using a craft knife, use a cutting board!
  • A bead – I would recommend a contrasting colour to your felt

Click to read more of this entry.

« Newer EntriesOlder Entries »
blythelife.com
blythelife.com